Voice typing can be a real asset when working from home. In the past, you had to install special dictation tools in order to type and navigate with your voice on computers. Now, with a speech-to-text feature built in, all you have to do is set up voice typing on Windows 10. You’ll need nothing more than a microphone to get started, and even that may already be built in if you have a laptop.
Set Up a Microphone
As mentioned above, you may already have a microphone built in if you have a laptop. If you do, you may skip to the next section.
To set up a microphone, open “Settings -> Time & Language -> Speech.”
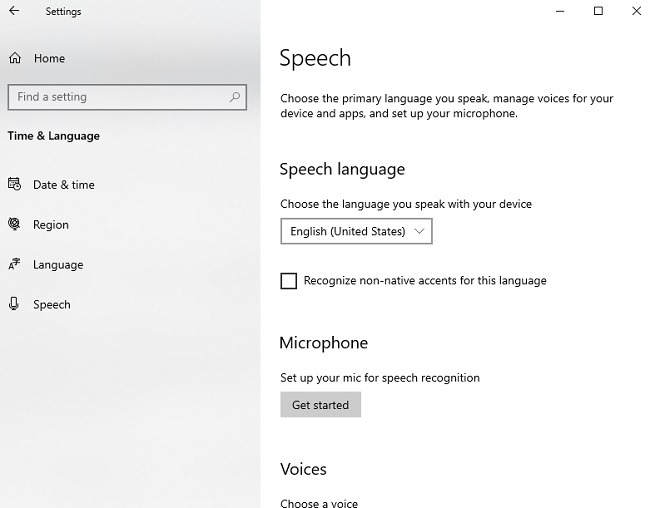
Press “Get Started.” If everything’s already configured, you’ll see a troubleshooter. If it’s not, you’ll go through a wizard to configure your mic.
Also, if you’re connecting an external microphone, you be prompted to set up the microphone at this point. You may also need to use any software included with your microphone to complete the setup.
As a side note, headset microphones work best with voice typing. They pick up your voice better with less outside interference. Plus, you don’t have to speak as loudly, meaning people around you won’t get so annoyed.
Setting Up Voice Typing on Windows 10
Before you start using the speech-to-text feature, you’ll have to set it up. You have two different ways to do this. For basic dictation and navigation, the Windows Speech Recognition app is all you need. The Speech Recognition setting in Control Panel gives some additional configuration options.
Since the Windows Speech Recognition tool is the easiest to use and works well for most users, this tutorial is based around that tool. Go to Start and type “Windows Speech Recognition.”
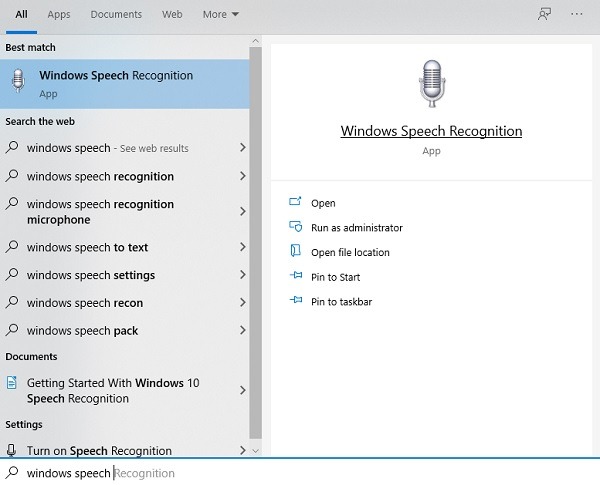
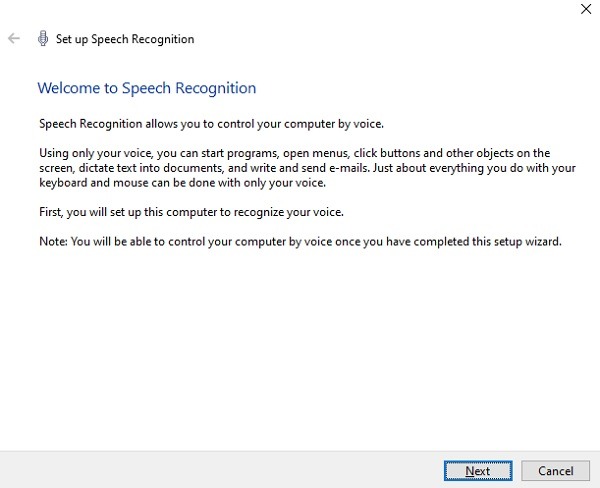
Open the result to start the setup wizard.
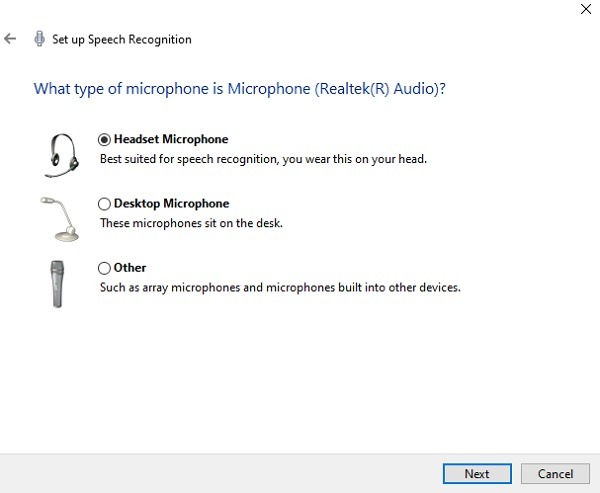
Choose your microphone type.
Read the sentence you’re given aloud into your microphone. This configures the mic specifically for speech-to-text in Windows 10.
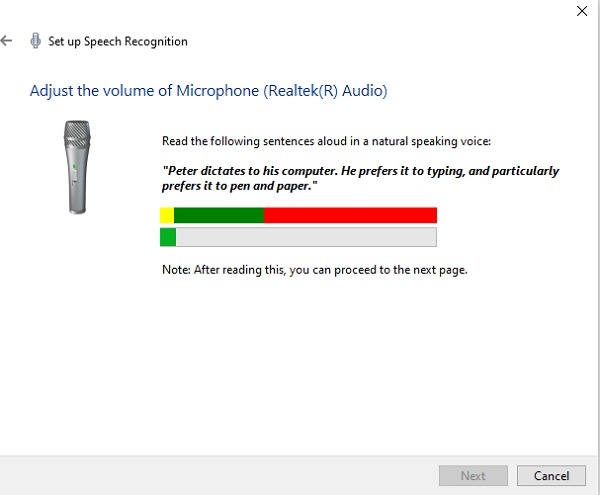
When finished, click Next. If Next is grayed out, trying reading the sentence again, clicking Next while reading.
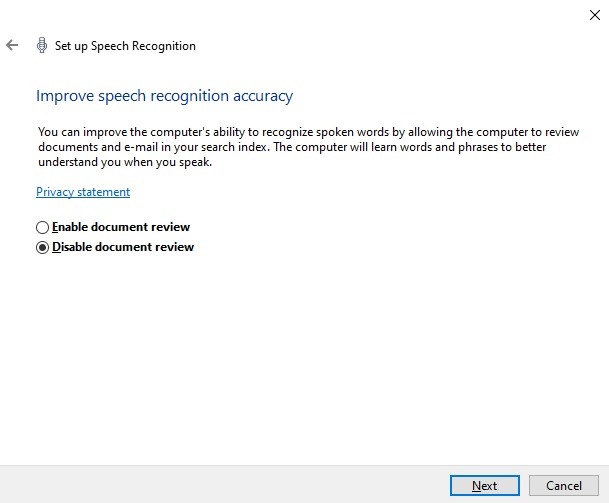
Then, choose whether to enable or disable document review. This is designed to improve speech recognition, but I tried it both ways and didn’t notice much difference.
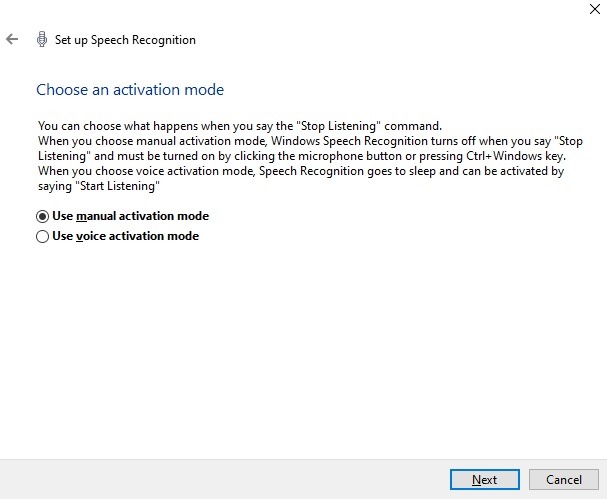
Choose whether you want to activate voice listening manually or with your voice. The manual option uses the key combination of Ctrl + Win or the microphone button in the software you’re using to start voice typing. The voice activation mode keeps your computer in standby mode until you say “Start Listening.”
Finally, print the voice command reference sheet. You’ll definitely need it when you’re getting started. You can also bookmark the reference sheet to view later.
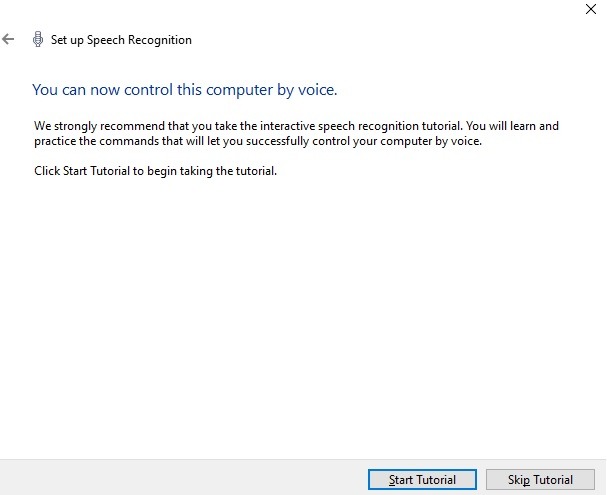
Proceed through the tutorial. This helps you practice and learn how to use voice typing on Windows 10. You don’t have to do this, but it’s a good idea if you’re new to voice typing.
Create a Shortcut
If you’re not using your voice to start voice typing on Windows 10, you may want to create a shortcut. Otherwise, you’ll need to open the Windows Speech Recognition app each time.
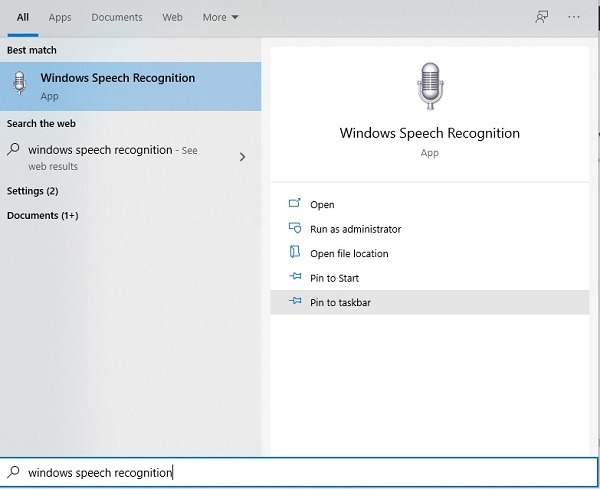
Go to Start and type “Windows Speech Recognition.” Select “Pin to Taskbar” in the right pane. This creates a microphone shortcut on your taskbar.
Using Speech Recognition
At first, Speech Recognition may not work so well. If you’re having problems with the tool hearing you, try speaking closer to the microphone. If you’re using a headset, you’ll get better results.
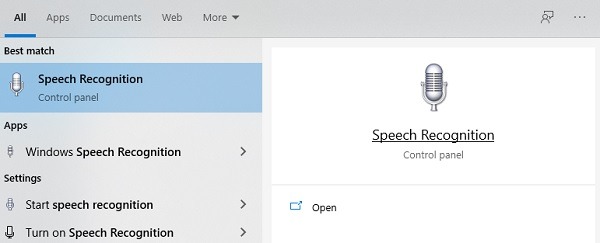
If you’re still having trouble, go to Start and type “Speech Recognition”. Select the result.
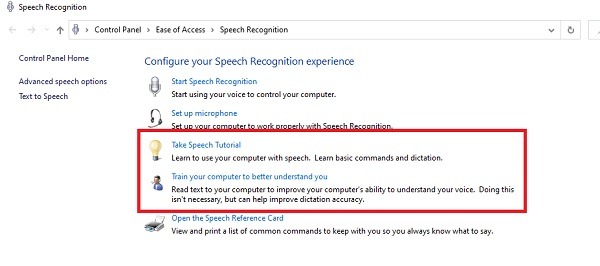
Go through both the tutorial and training sessions. These help improve the results.
Ways to Use Voice Typing
While not every single app or software is compatible with speech recognition, many are, especially other Microsoft products. For example, in Microsoft Word you’re able to navigate the menus, type, add punctuation, and do pretty much anything you can do with your keyboard and mouse. You just have to learn the voice commands.

It also works well in Chrome and Edge browsers, though I did have a little trouble getting URLs to enter correctly.
The thing to remember is you need to speak clearly and directly into the mic. Any interference can cause some unexpected results. I tried using the built-in mic on my laptop as a test, and while I didn’t have much trouble in Word, I couldn’t get Edge to understand me at all. With a headset mic, I only had the occasional issue.
Also, voice typing on Windows 10 tends to work better over time as the tool learns your voice. While more advanced dictation software may be more accurate, Speech Recognition is a great free Windows tool to help increase your productivity when working at home without wearing out your fingers and wrists typing and using your mouse. Mix this with reducing online distractions and productivity apps and tools for Windows 10, and you’ll get much more accomplished.


