
Cisco Webex is one of the video conferencing tools providing stiff competition to Zoom. The Webex platform is a collaborative software that helps users communicate across teams and also offers screen-sharing functionalities. The following is a tutorial showing how to use Webex.
Also read:Zoom vs. WebEx: Which Is Best for Video Conferencing?

How to Set up a Meeting with WebEx
Follow the instructions below to set up a meeting on Webex:
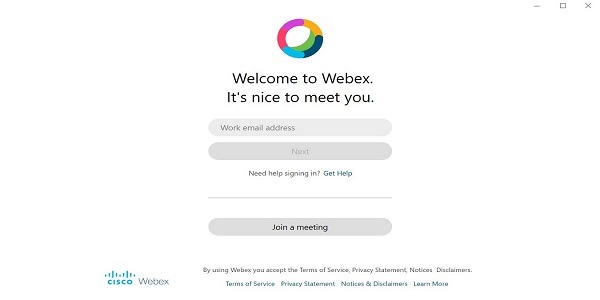
1. Sign in to your Webex account. If you don’t have an account yet, you can set up a free account here.
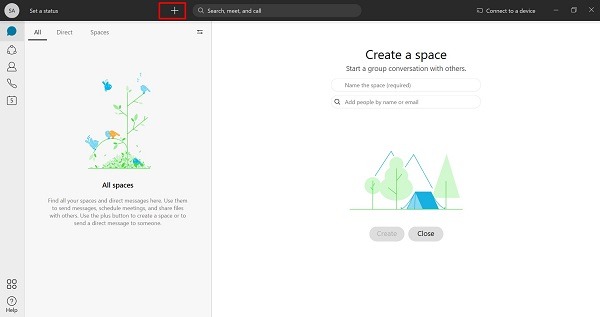
2. Once signed in to the Webex platform, look for a (+) sign at the top of the screen.
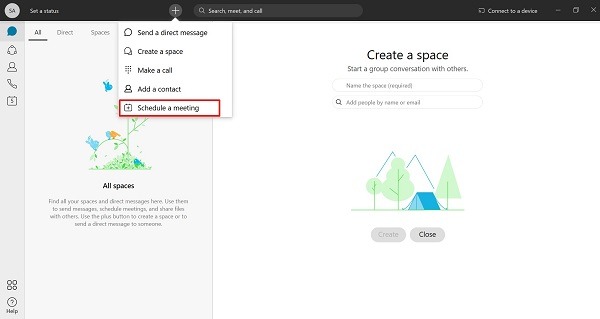
3. Click on the (+) sign and select the option to “Schedule a Meeting.”
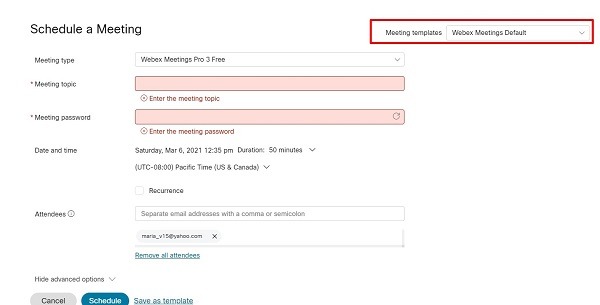
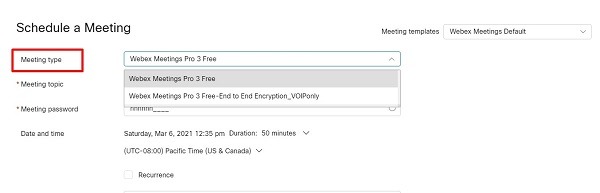
4. On the new page, look for a drop-down menu for the meeting template. You can either select “Standard Meeting Templates” or “ Webex Meetings Default.”
5. Depending on whether you want your meeting encrypted or not, you can change the Meeting Type to have “End to End Encryption”.
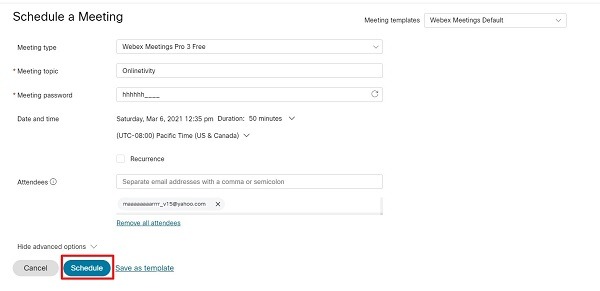
6. After choosing your template, fill in your meeting details from “Meeting Topic” to Attendees.
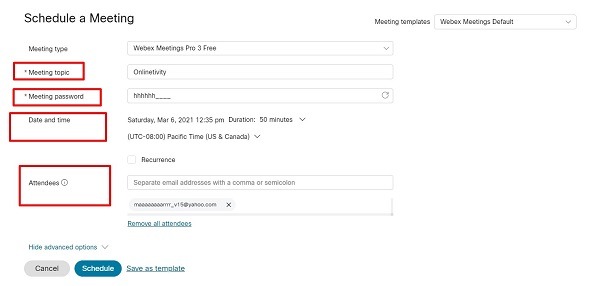
7. You can choose the default meeting type or customize your meeting. Input a name for your meeting as the meeting topic. Input the period and time for the meeting. If the meeting is a periodical one, tick the box for recurrence. Based on the checkboxes available, you can set the meeting up to happen weekly, biweekly, monthly, etc.
8. Go to the section for Attendees and enter the addresses of your invitees. You have the option of specifying any of the attendees as a co-host by clicking the icon next to his/her name.
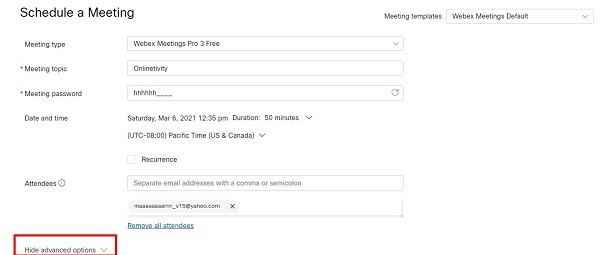
9. After filling in the meeting details, you can either Schedule the meeting or tweak your meeting settings further with the “Advanced Options.”
10. Under “Advanced Options,” you can decide the audio connection type: Webex Audio, Use VoIP Only, and Other Teleconference.
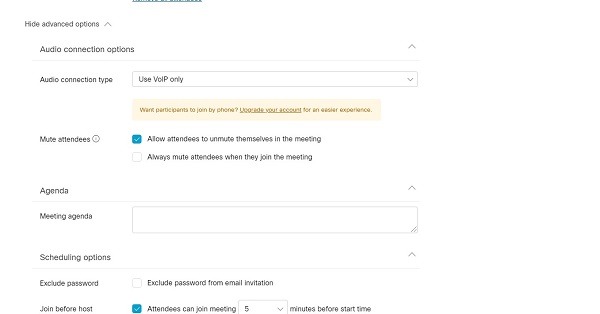
- Webex Audio: this option allows callback, computer audio and call-in.
- Use VoIP Only: this option restricts attendees to only audio on the computer..
- Other Teleconference: choosing this option allows you to enter third-party information.
11. To send out the meeting invite, click “Schedule.”
How to Join a Meeting on WebEx
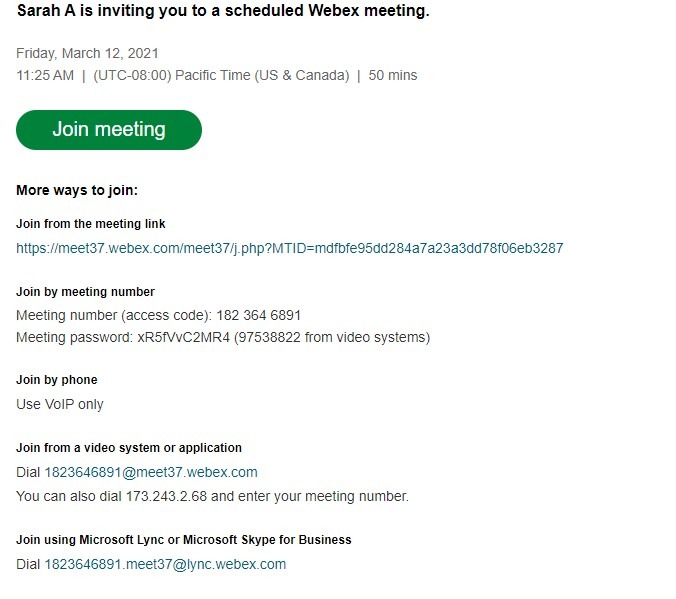
After scheduling a meeting, your invitees should get an email with the meeting invite. Here’s how they can join the meeting when it starts:
1. Open the meeting invite and click on “Join Meeting.”
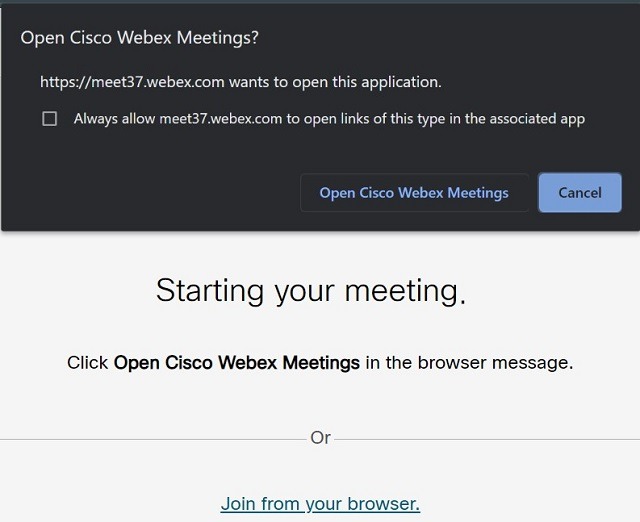
2. A browser window pops up asking if you want to join the meeting via the WebEx app or your browser.
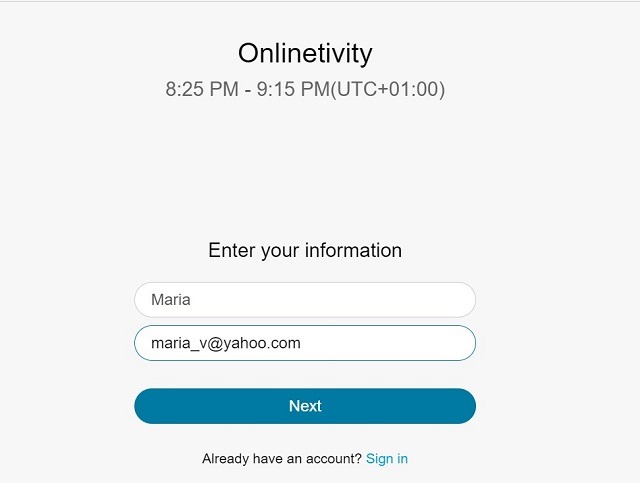
3. Sign in with your name and email address and click “Next.”
4. In the preview window, check that your microphone and video settings are exactly how you want them. That is, whether your want your video on or off and your mic muted or unmuted.
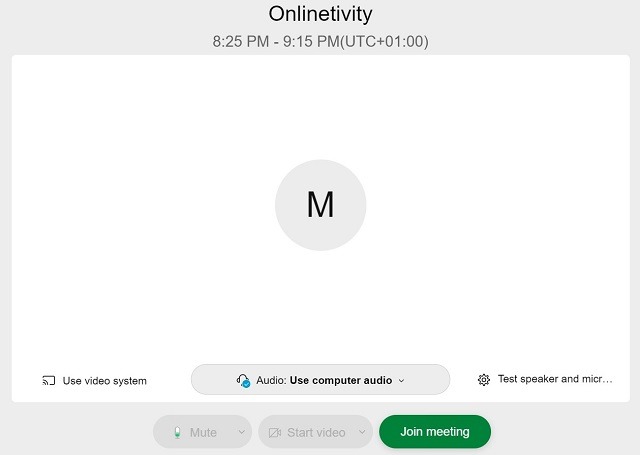
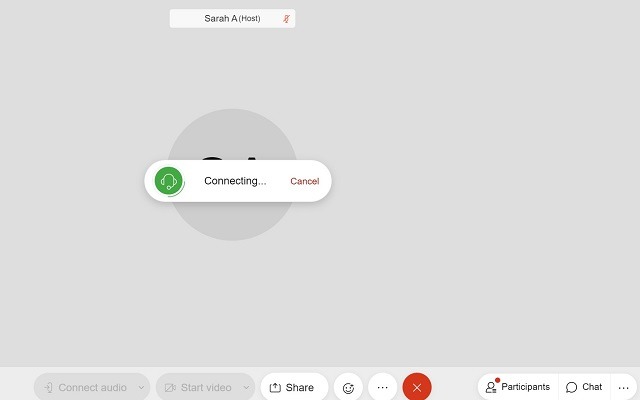
5. Select “Join Meeting” to access the meeting room.
Conclusion
Webex may first appear complex, but just like other video conferencing apps, you should get the hang of it with constant use. Its features such as screen sharing, sharing meeting links and downloading meeting attendance are the same as you would find in other conferencing apps.